
-> It all started with a craving for blueberry jam! And now I’m writing blog posts about canning!
As an Amazon Associate I earn from qualifying purchases.
Home canning is a wonderful way to preserve seasonal harvests, reduce food waste, and enjoy your favorite foods throughout the year.
If you’re new to canning, good news – me too, (sorta)! Getting started may seem overwhelming. But with the right equipment, a few trusted recipes, and some basic safety knowledge, you can begin preserving food at home with confidence. I personally prefer to use the Ball Canning Book – that was recommended to me when I started, and I would reccommend the same!
1. Understand the two types of canning
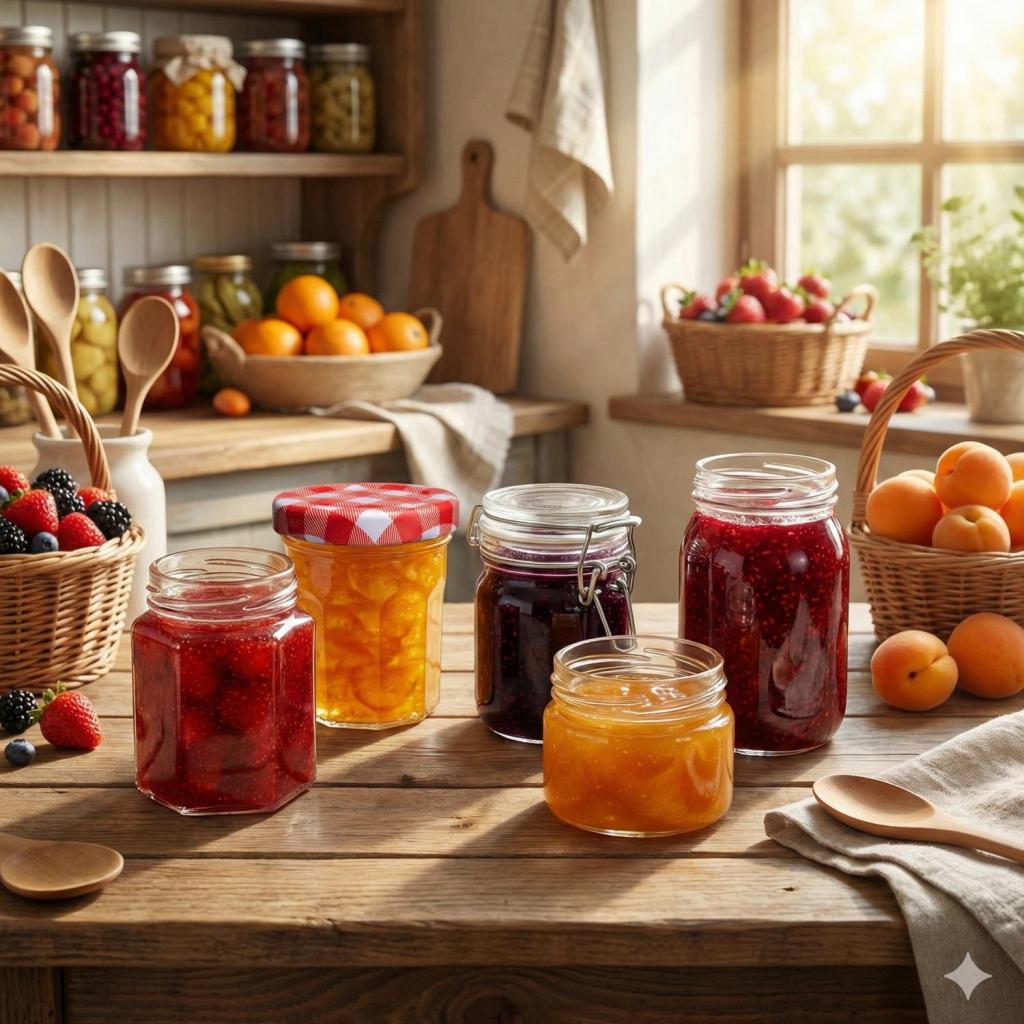
Before buying supplies, it’s important to know that there are two main methods of home canning – Water Bath and Pressure Canning.
Water Bath Canning
Best for high-acid foods, including:
- Most fruits and fruit jams
- Pickles made with tested vinegar brines
- Properly acidified tomatoes
- Tested fruit preserves
This method uses boiling water to safely process jars of high-acid foods.
Pressure Canning
Required for low-acid foods, including:
- Green beans, carrots, and corn
- Meat and poultry
- Most soups and vegetable mixtures
Pressure canning reaches the temperatures necessary to control the risk of botulism in low-acid foods. A boiling-water canner cannot safely replace a pressure canner.
2. Essential Canning Supplies
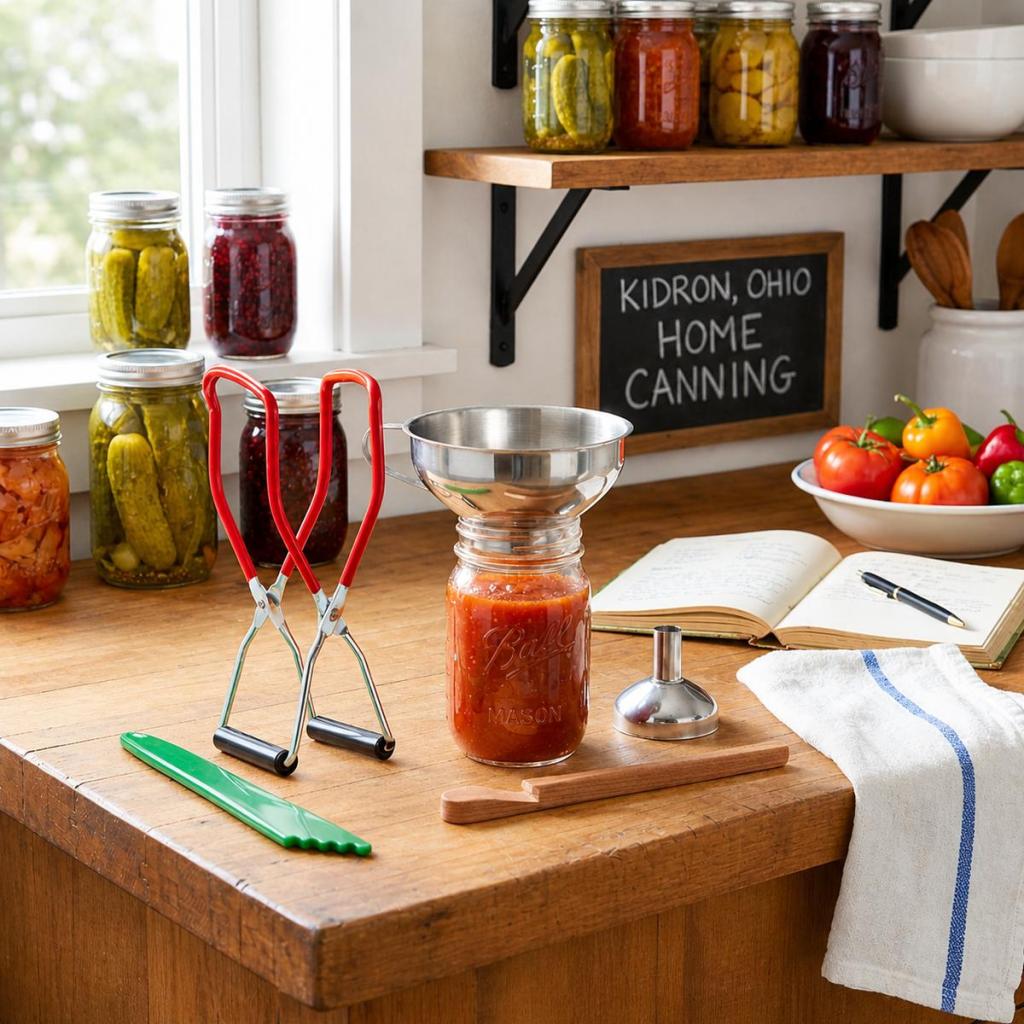
You don’t need an entire kitchen full of gadgets to begin. Here are the basics:
- Canning jars: Mason-style jars designed for home canning
- New canning lids: Use new flat lids for each canning session
- Reusable screw bands: Hold lids in place during processing
- Jar lifter: Helps safely lift hot jars
- Canning funnel: Makes filling jars easier and cleaner
- Bubble remover or headspace tool: Helps remove trapped air and measure headspace
- Water bath canner or pressure canner: Choose based on the foods you’re preserving
- Jar rack: Keeps jars off the bottom of the canner
- Clean towels and labels: For handling and organizing finished jars
-> Shop my Linktree for all my Essential Canning Supply Picks!
This post contains affiliate links. If you purchase through these links, I may earn a small commission at no additional cost to you.
For water bath canning, a large, deep pot with a properly fitting lid and rack may work if it allows the jars to remain covered by the required amount of boiling water.
3. Choose an Easy First Recipe
For your first canning project, I would suggest starting with applesauce, simple jams or fruit syrups made from trusted sources.
Get yourself the Ball Complete Book of Home Preserving – start there!
Start with a small batch and follow the recipe exactly. Canning isn’t the place to experiment with vinegar ratios, processing times, or ingredient substitutions.
4. Follow These Important Safety Rules
Safe canning is about more than getting a jar to seal.
- Always use a scientifically tested canning recipe.
- Follow the specified jar size, headspace, processing method, and processing time.
- Adjust processing requirements for your altitude.
- Allow processed jars to cool undisturbed for 12–24 hours, then check the seals.
- Store properly sealed jars in a cool, dark, dry location.
A sealed lid alone does not prove that food was processed safely.
5. Build Your Home Canning Pantry
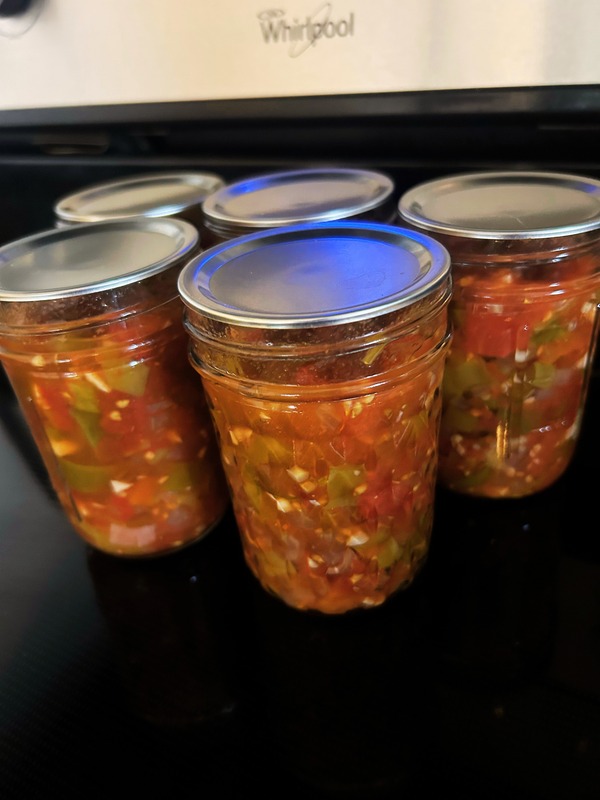
Once you’ve mastered your first recipe, you can gradually expand your skills. Imagine pantry shelves filled with homemade peach jam, crunchy pickles, canned tomatoes, and garden vegetables ready for family meals.
Label each jar with its contents and canning date. For best quality, plan to use most home-canned foods within one year.
Final Thoughts
Home canning is a rewarding skill that connects your garden, kitchen, and pantry. You don’t need to master everything at once. Start with one tested recipe, invest in the right basic tools, and build your confidence with every batch.
Ready to start canning? Gather your supplies, choose your first recipe, and begin turning seasonal produce into pantry staples you’ll enjoy long after harvest season.
Helpful beginner resources: The National Center for Home Food Preservation and the USDA Complete Guide to Home Canning offer research-based instructions and tested recipes.


Leave a Reply